
# Acurite Weather Station Installation Guide
Installing an Acurite weather station can be a rewarding experience, providing you with accurate and real-time weather data right at your fingertips. Whether you’re a weather enthusiast or simply want to keep track of local conditions, this guide will walk you through the installation process step by step.
## Choosing the Right Location
Before you start the installation, it’s crucial to choose the right location for your Acurite weather station. The accuracy of your weather data depends heavily on where you place the sensors.
– **Avoid Obstructions**: Ensure that the sensors are placed away from buildings, trees, and other obstructions that could interfere with readings.
– **Elevation**: Mount the sensors at a height of 5 to 7 feet above the ground for optimal performance.
– **Sun Exposure**: Place the temperature sensor in a shaded area to avoid direct sunlight, which can skew temperature readings.
## Unboxing and Preparing Your Equipment
Once you’ve selected the perfect spot, it’s time to unbox your Acurite weather station and prepare the equipment for installation.
– **Check Components**: Ensure that all components, including the display console, sensors, mounting hardware, and batteries, are present and in good condition.
– **Read the Manual**: Familiarize yourself with the user manual provided by Acurite. It contains valuable information specific to your model.
– **Insert Batteries**: Install the required batteries into both the display console and the sensors. Make sure to follow the polarity markings.
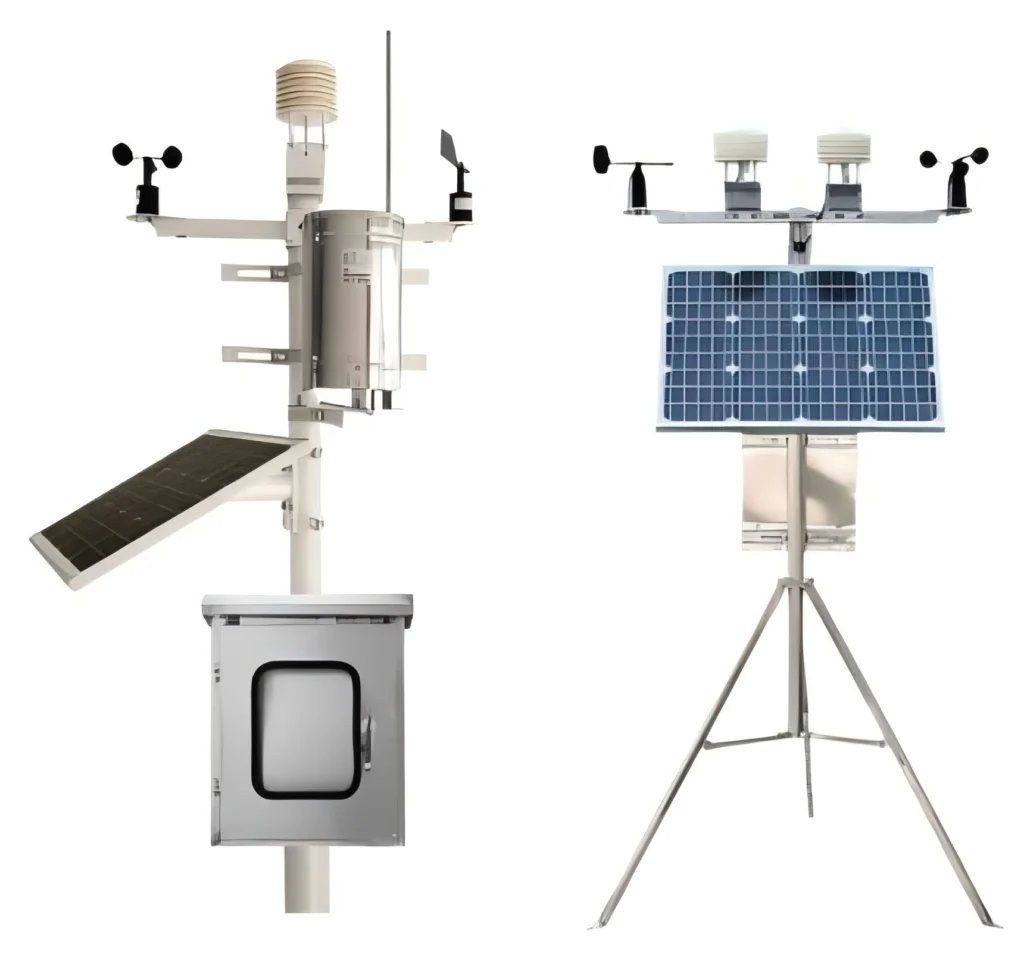
## Mounting the Sensors
Properly mounting the sensors is essential for accurate data collection. Follow these steps to ensure a secure and effective installation.
– **Mounting Bracket**: Attach the mounting bracket to a stable surface, such as a pole or wall, using the provided screws.
– **Secure Sensors**: Attach the sensors to the mounting bracket. Ensure they are firmly in place to prevent movement due to wind or other factors.
– **Orientation**: Position the rain gauge and wind vane according to the manufacturer’s instructions to ensure accurate readings.
## Setting Up the Display Console
The display console is your interface for viewing weather data. Setting it up correctly is crucial for a seamless experience.
– **Placement**: Place the display console indoors, preferably in a central location where you can easily access it.
– **Power Source**: Connect the console to a power source or ensure it has fresh batteries installed.
– **Synchronization**: Follow the instructions to synchronize the console with the sensors. This usually involves pressing a sync button on both devices.
## Testing and Calibration
After installation, it’s important to test and calibrate your Acurite weather station to ensure accurate readings.
– **Initial Test**: Allow the station to run for a few hours and compare the readings with local weather reports or other reliable sources.
– **Calibration**: If necessary, calibrate the sensors according to the user manual. This may involve adjusting the rain gauge or wind vane.
– **Regular Maintenance**: Periodically check the sensors for debris or damage and replace batteries as needed to maintain accuracy.
## Troubleshooting Common Issues
Even with careful installation, you may encounter some issues. Here are a few common problems and their solutions.
– **No Signal**: Ensure that the sensors and console are within the specified range and that there are no obstructions.
– **Inaccurate Readings**: Double-check the placement of the sensors and recalibrate if necessary.
– **Battery Life**: Replace batteries regularly and consider using high-quality, long-lasting batteries for better performance.
By following this Acurite Weather Station Installation Guide, you’ll be well on your way to enjoying accurate and reliable weather data. Happy weather tracking!
Keyword: acurite weather station installation